

 Tweet
Tweet
Thought I would post my it "begins thread" in the correct section, with the hijacks removed. {my fault for listing in general I know} 
Original Thread is here but runs to almost 80 posts
http://www.hiluxsurf.co.uk/forums/sh...ad.php?t=58380
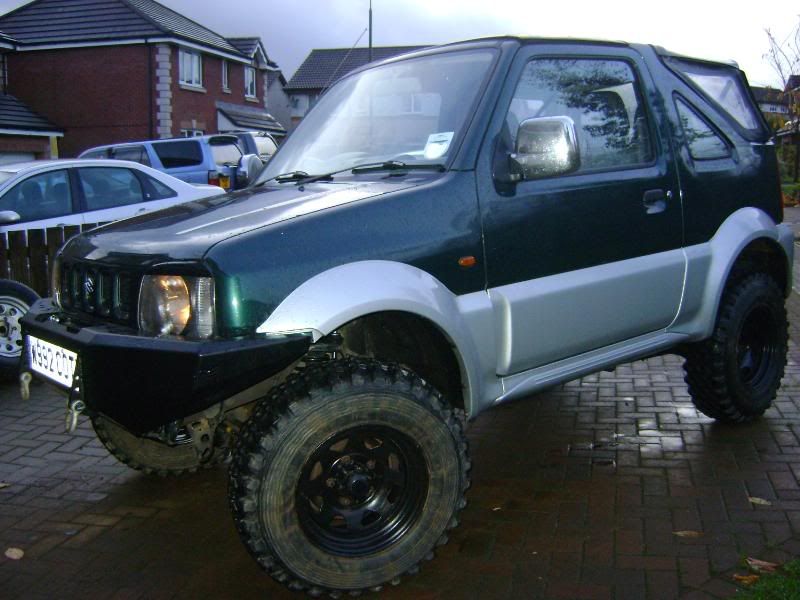
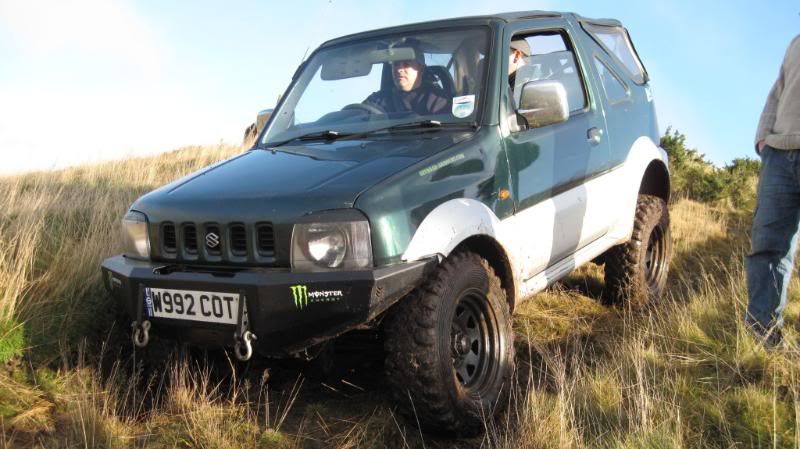
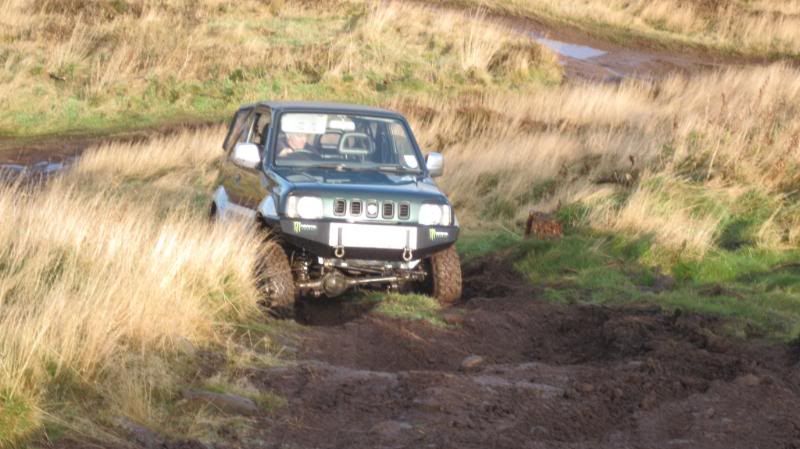
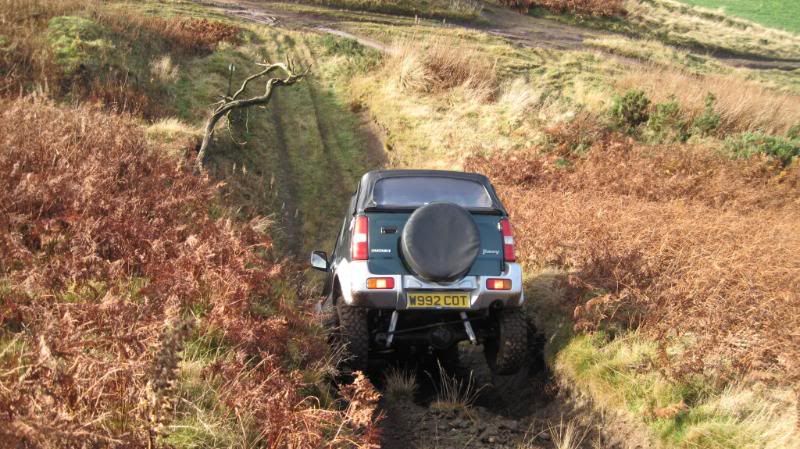
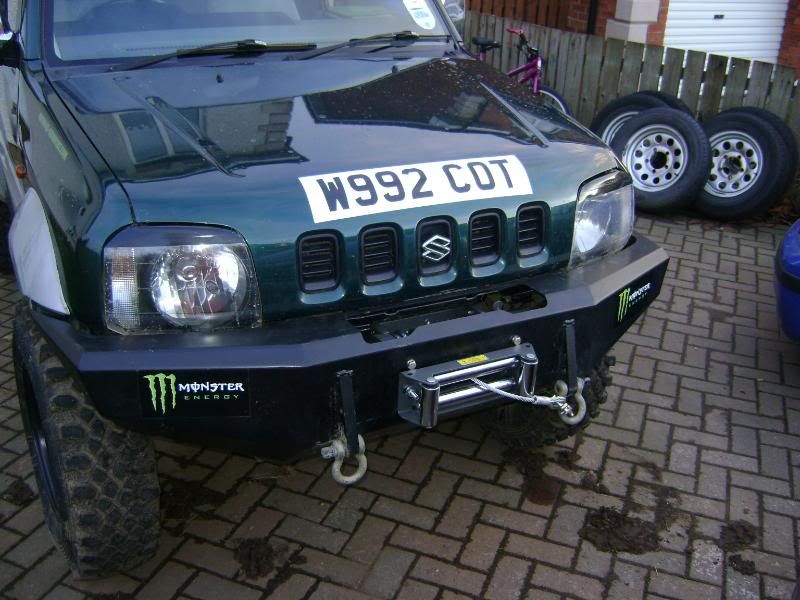
So here she is. Almost a shame to off road it. { almost }
}
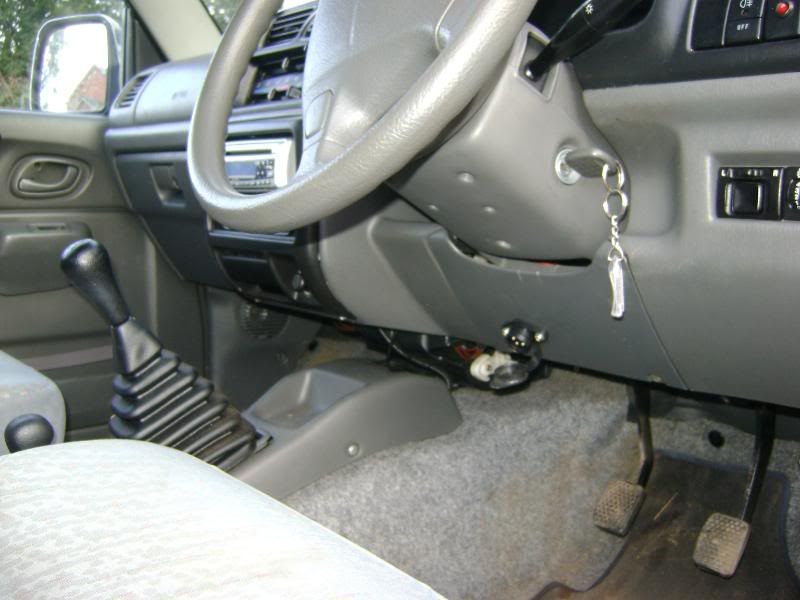
2000 on a W plate good history 58k mile.
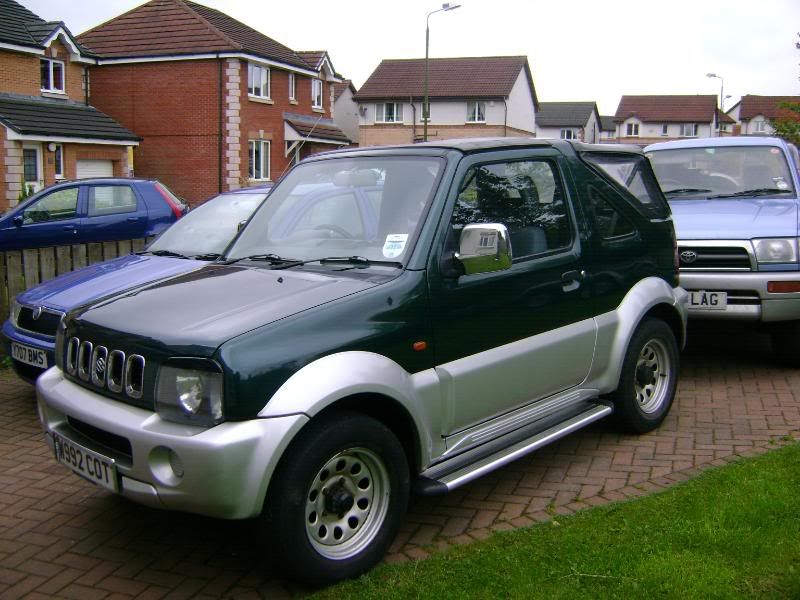
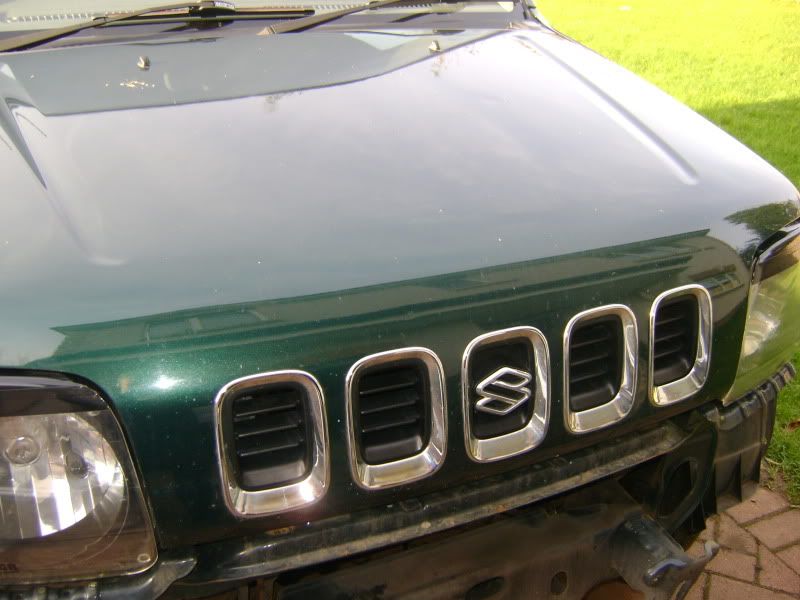
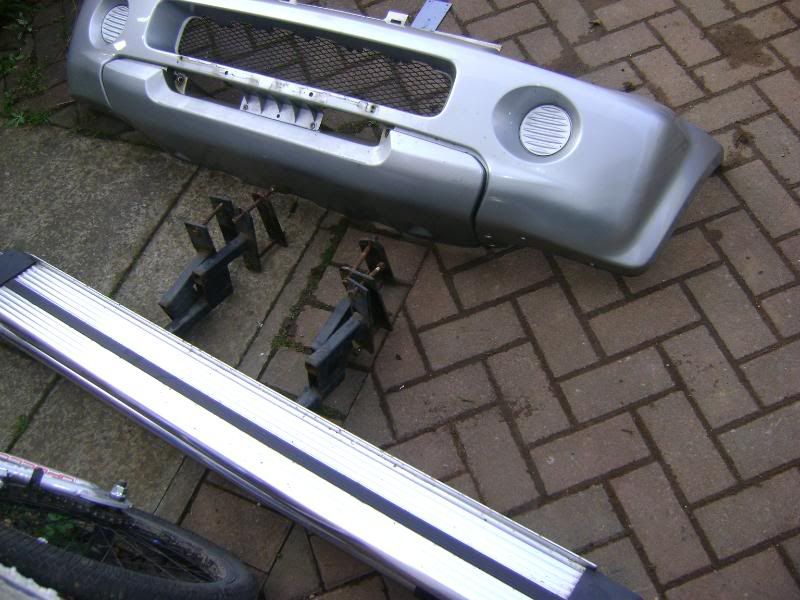
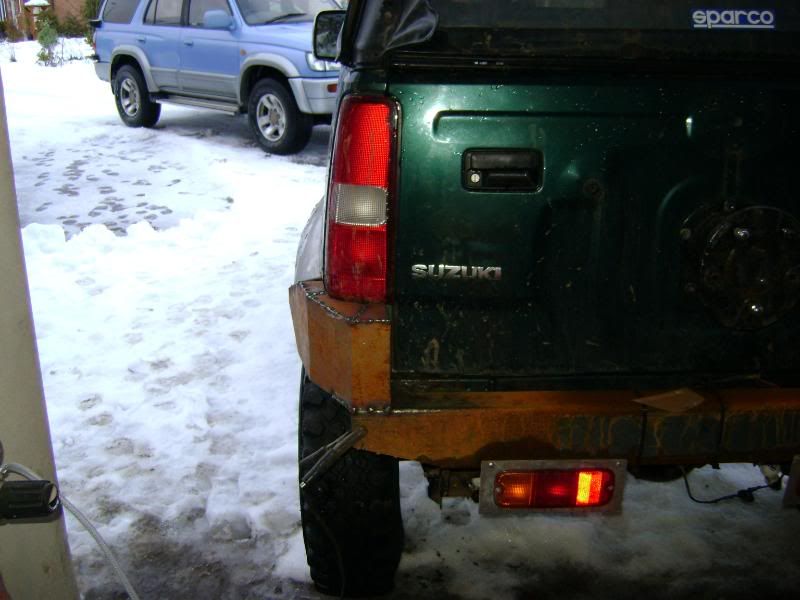
Some good bling removed and sold on eblag, can you belive the chrome grille set went for near �50 All told I have got �250 from parts I wont use so far. { anyone need a rear bumper?? } {now sold, another �80 into the fund}
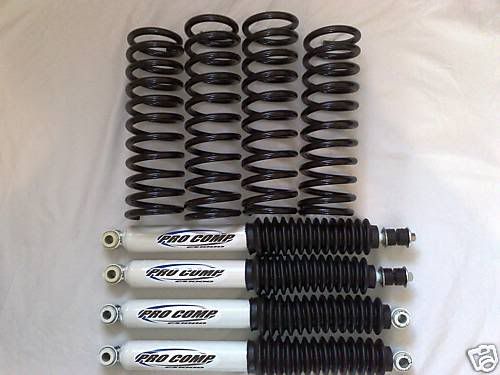
This is the kit going on the jimny. +3" springs with es1000s to match. Went for the oil filled due to the finish weight of the toy truck.
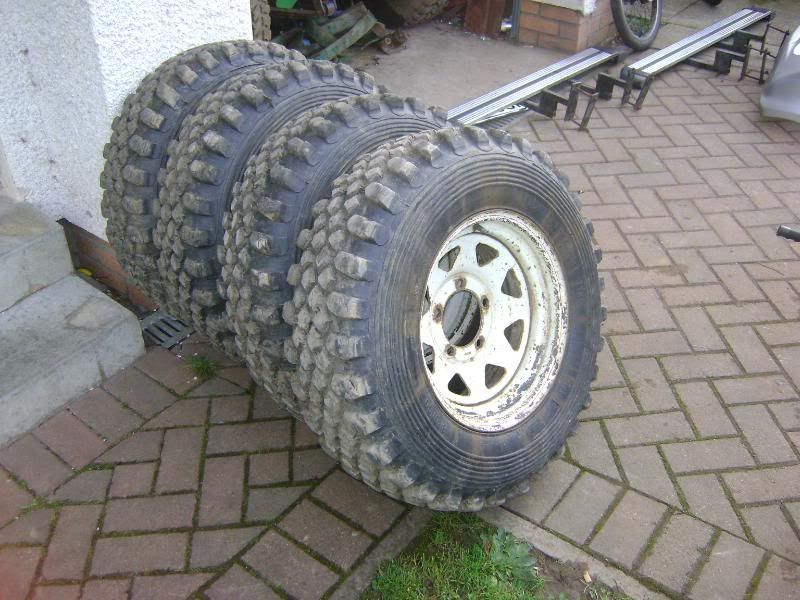
Also picked these up and have made a start on doing them in matt black.
Bronco Dimond Backs.
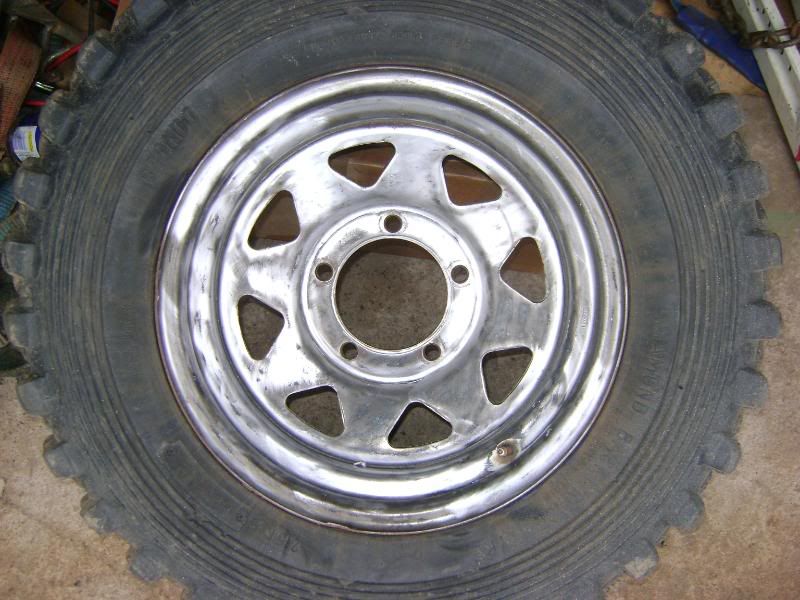
Quick introduction to the wire brush, and mash hammer to reshape the rims
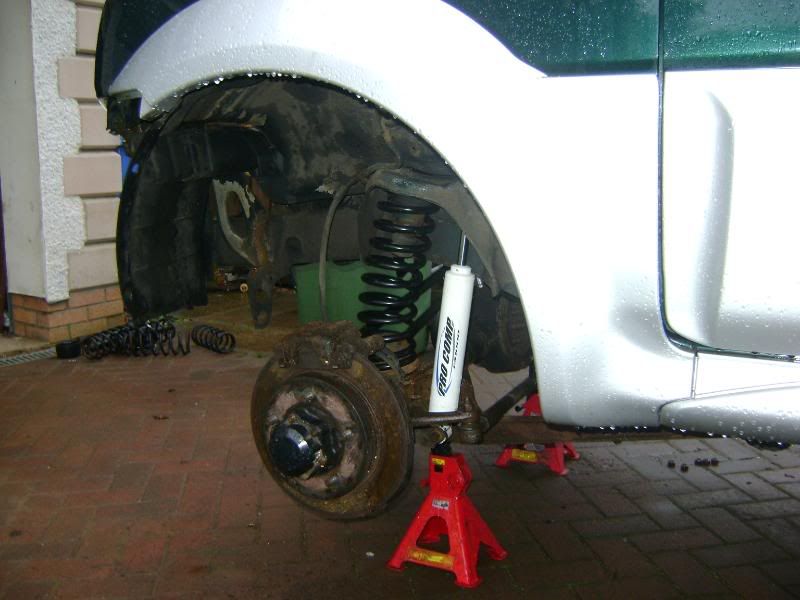
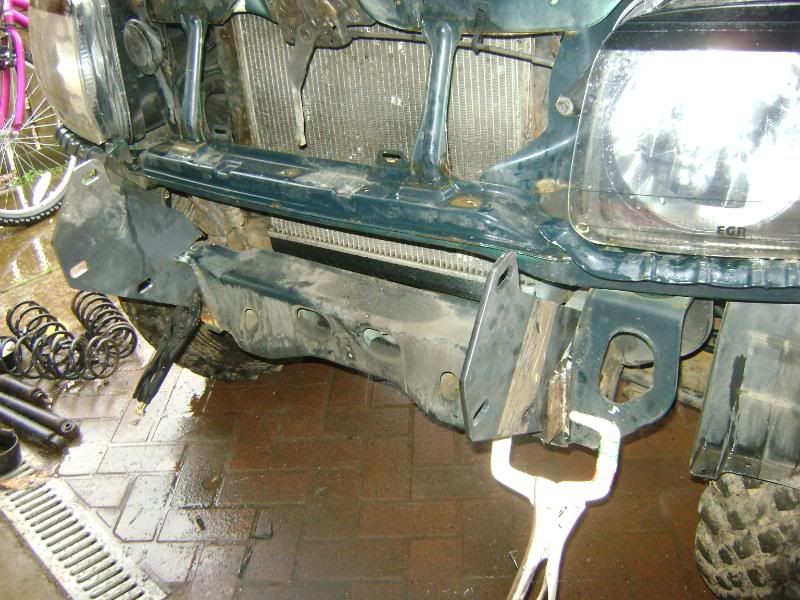
Starting to get some clearance now. New longer braided brake lines on order.
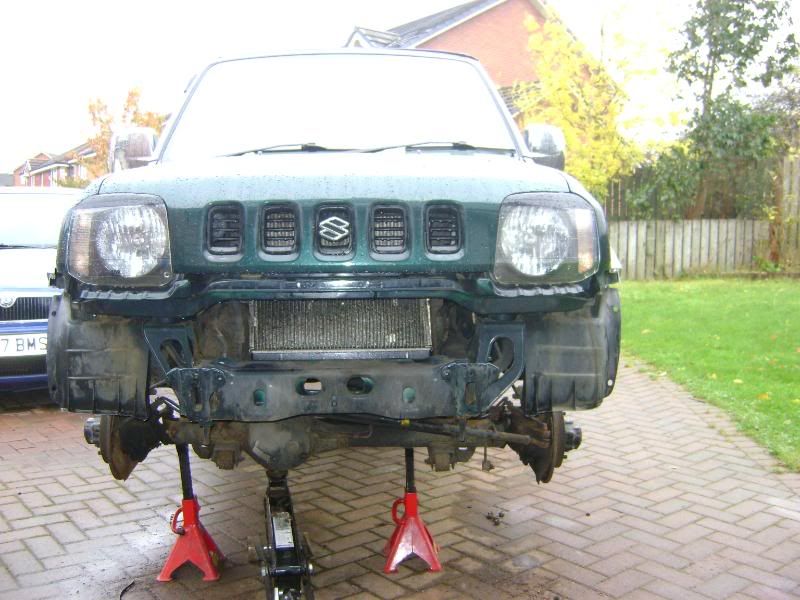
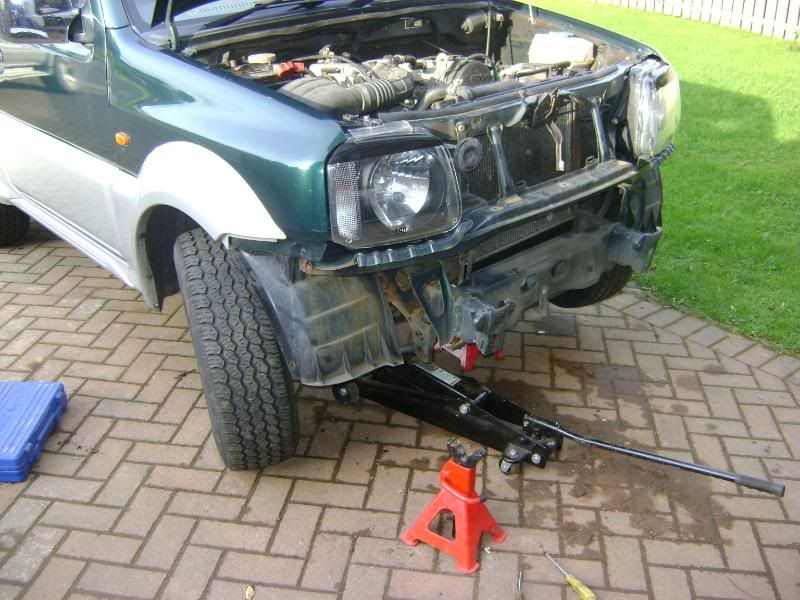
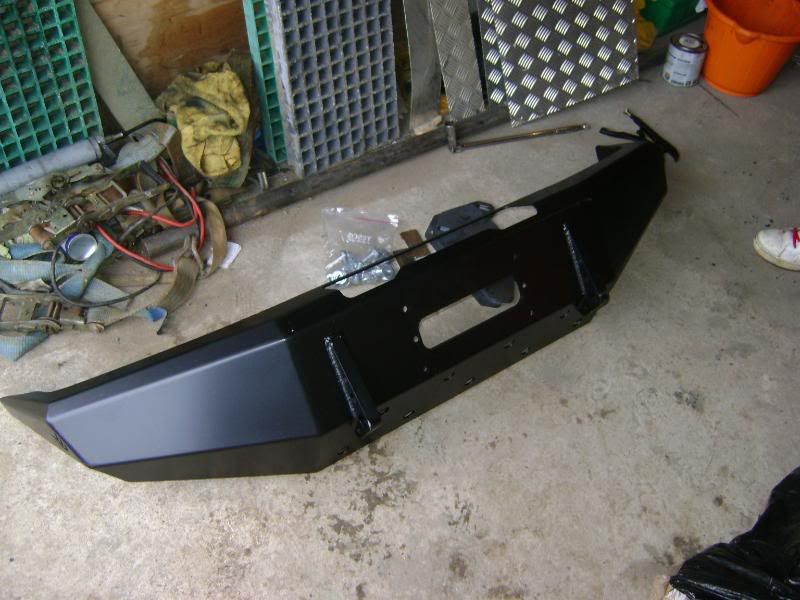
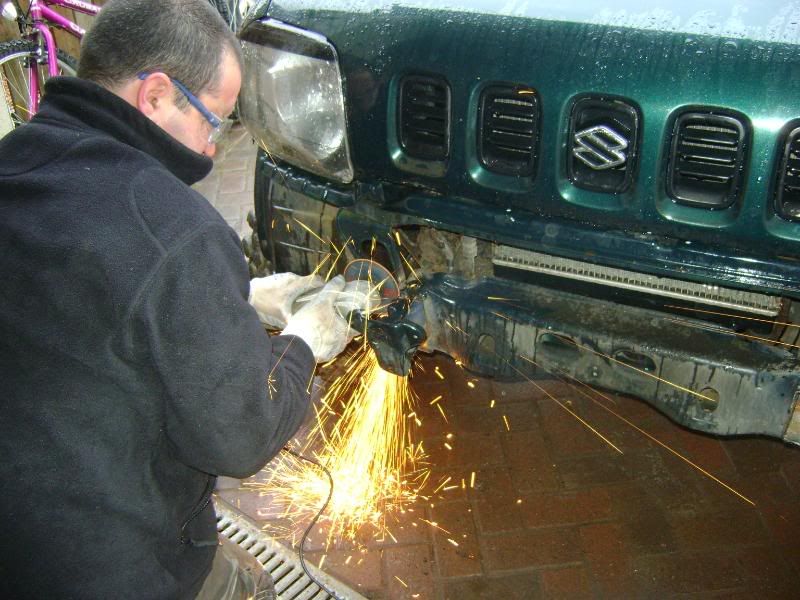
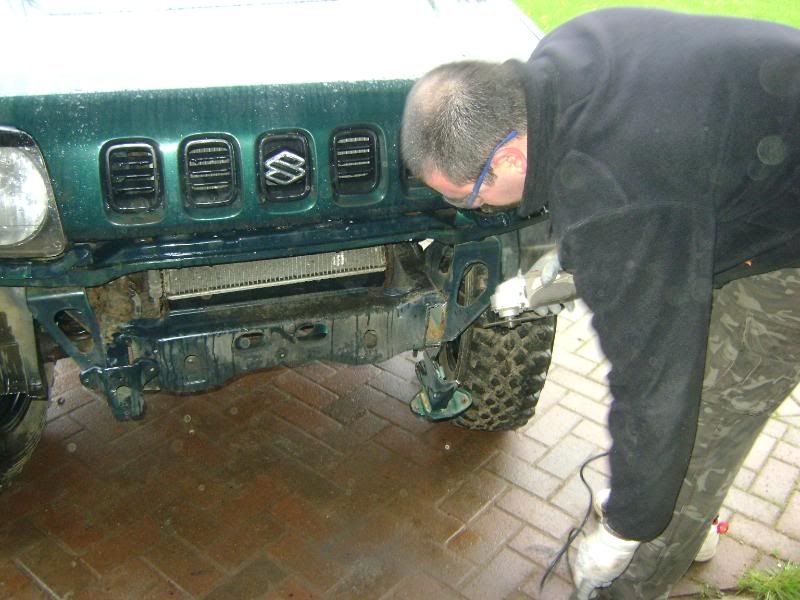
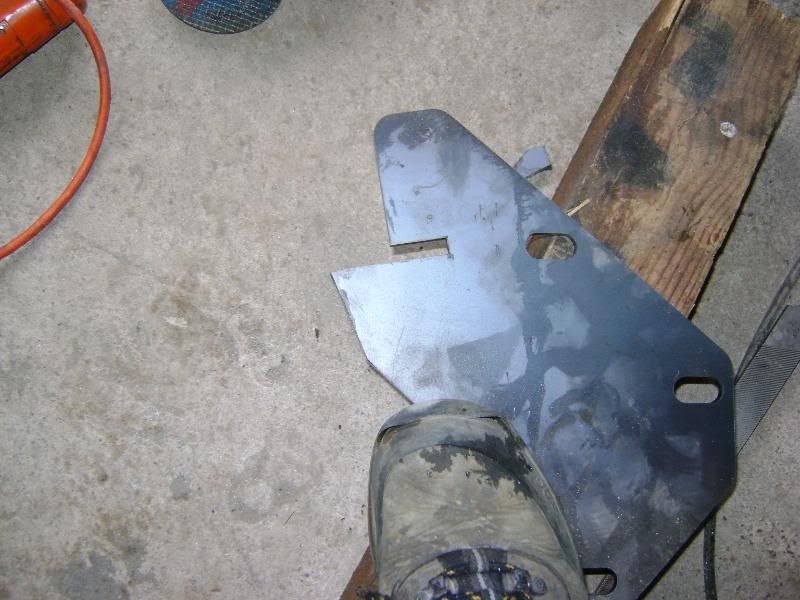
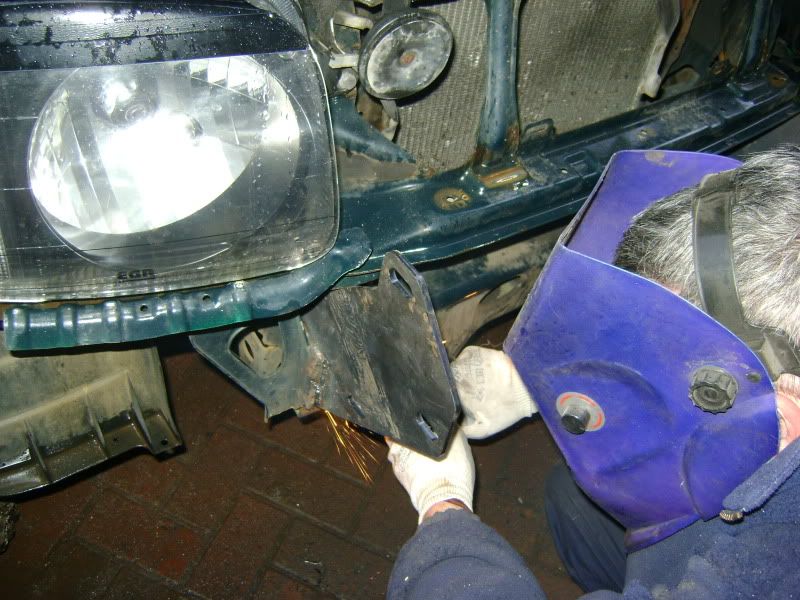
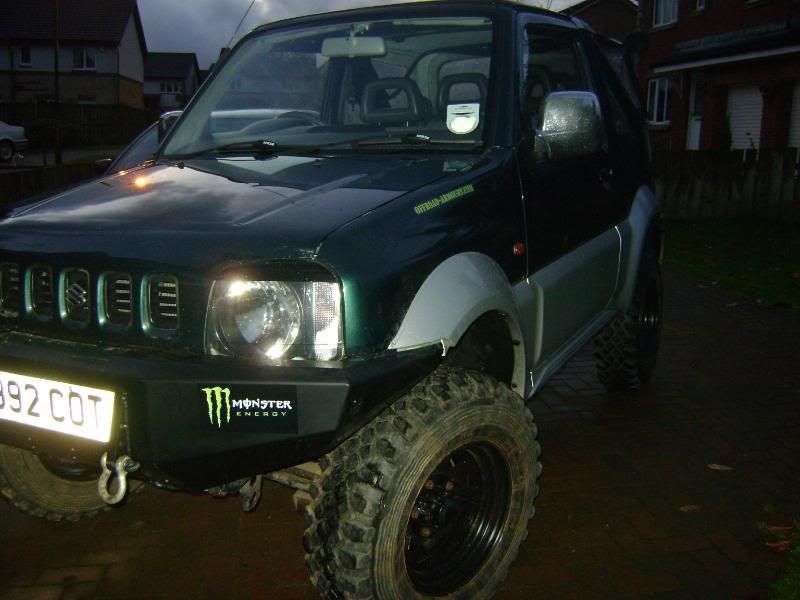
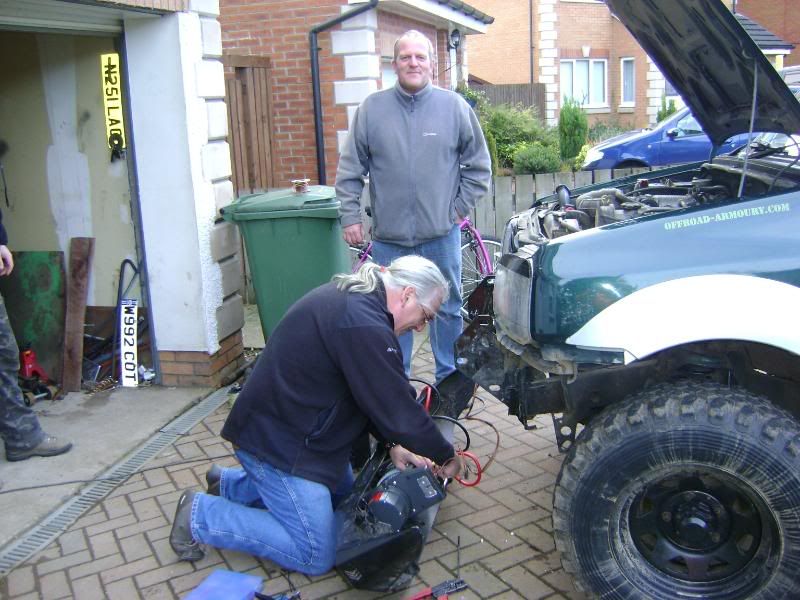
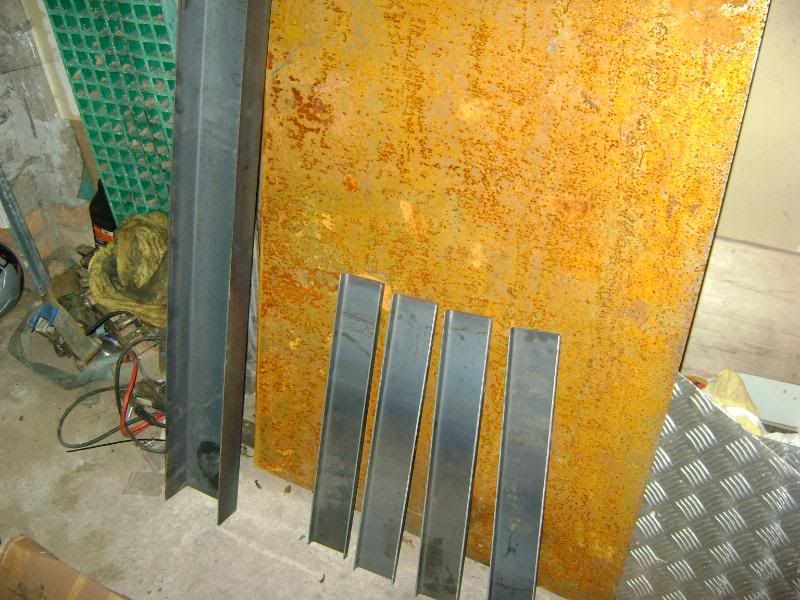
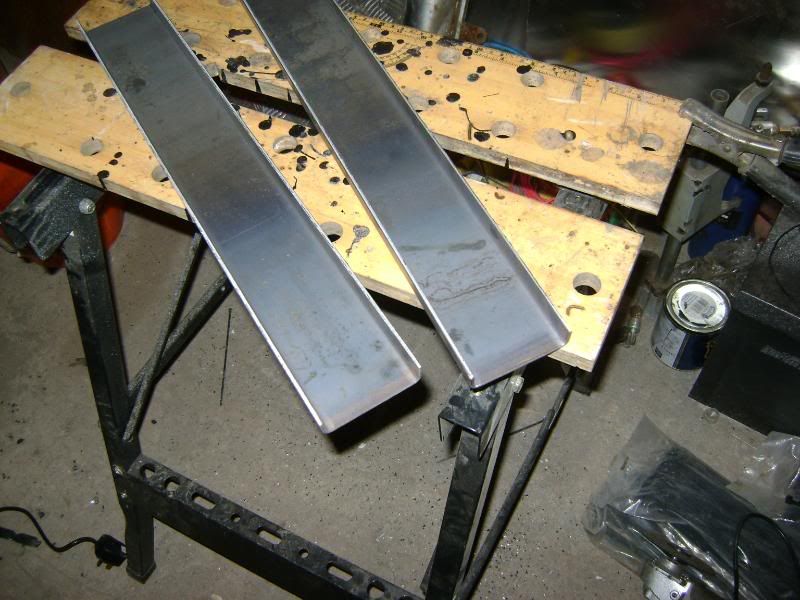
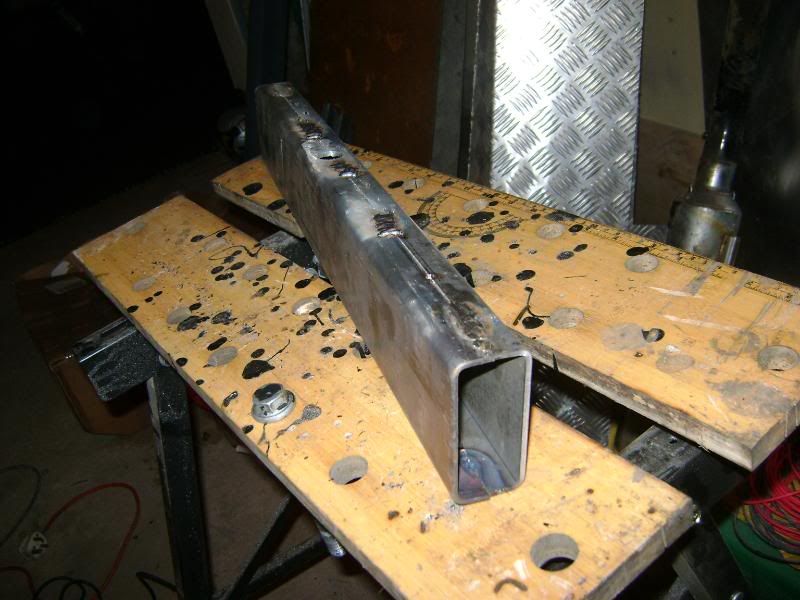
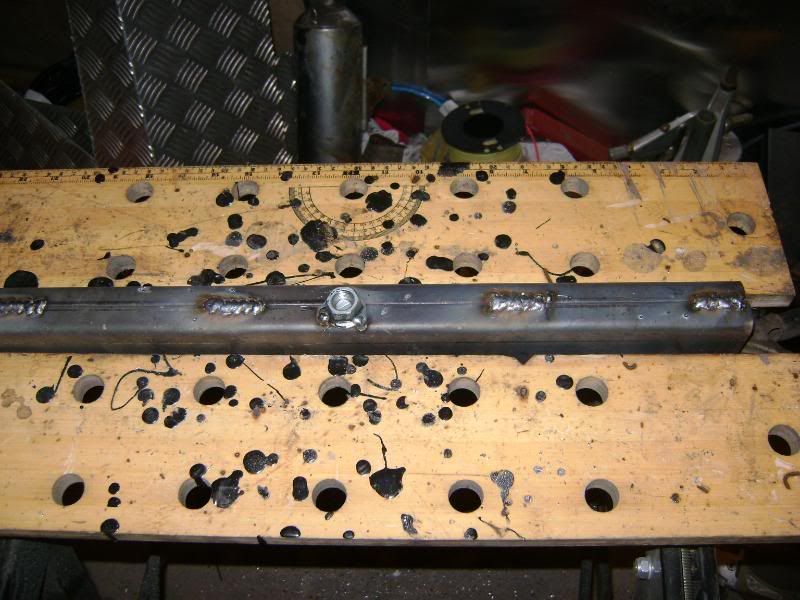
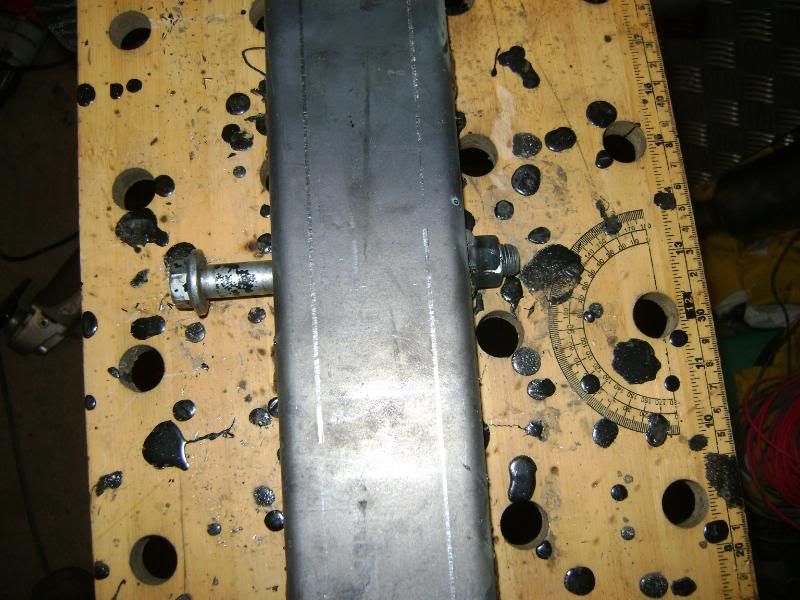
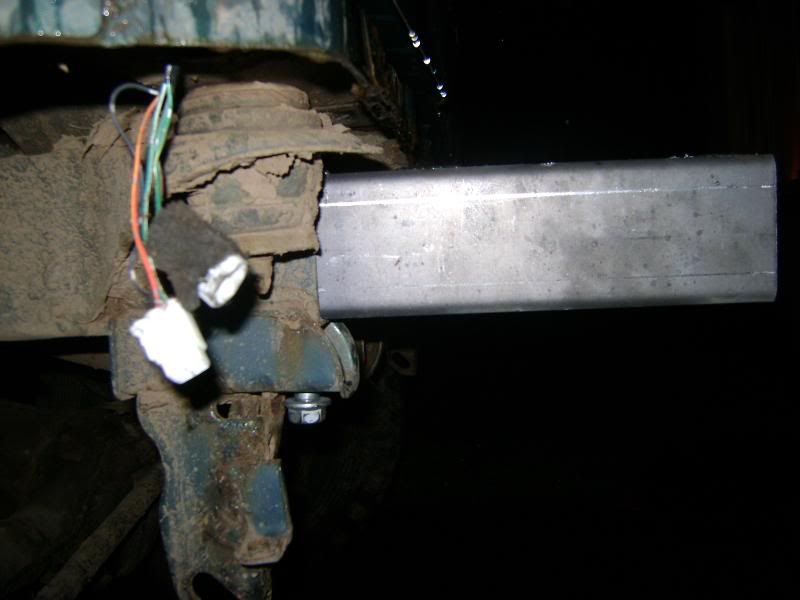
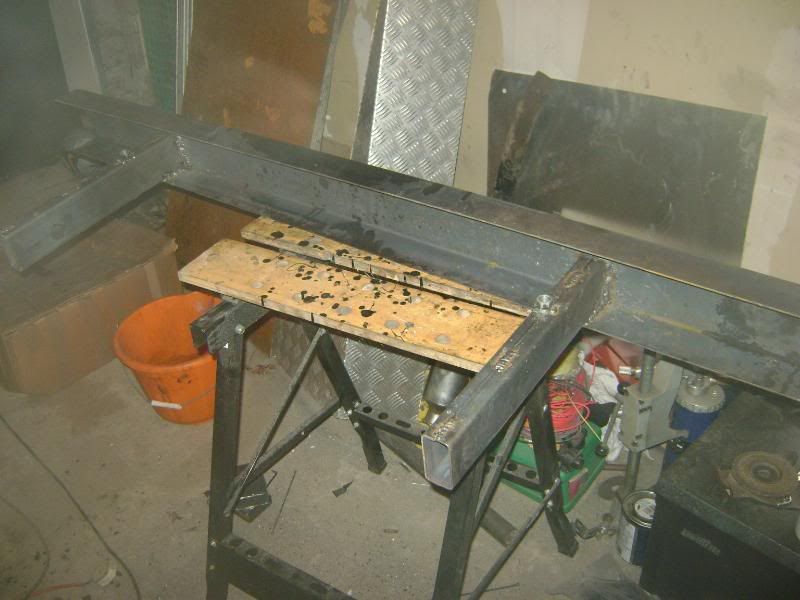
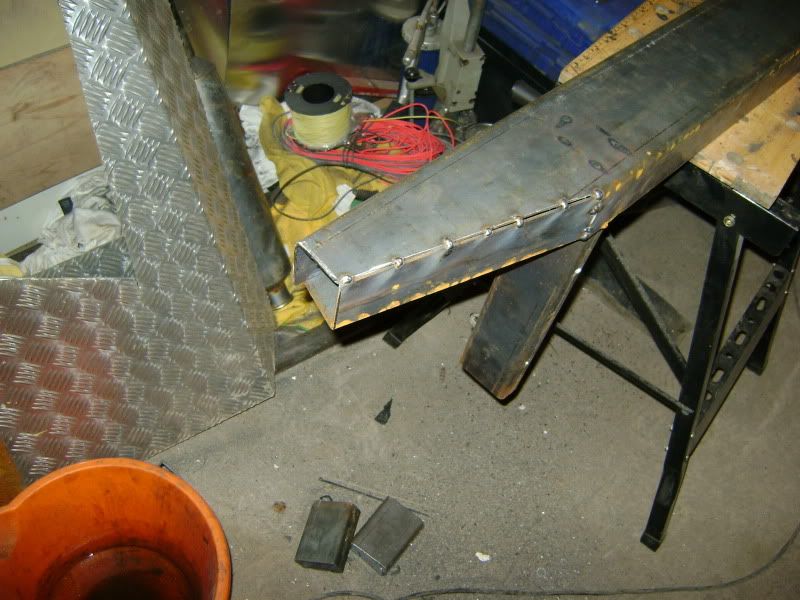
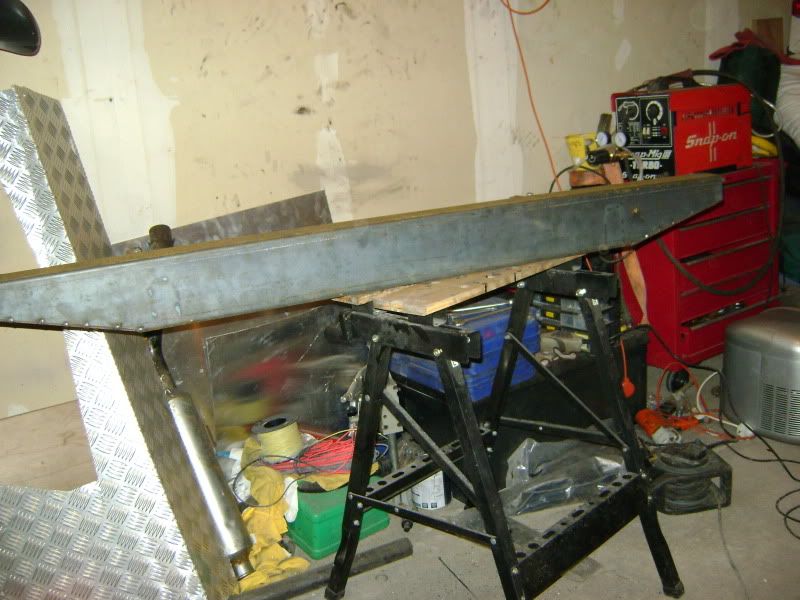
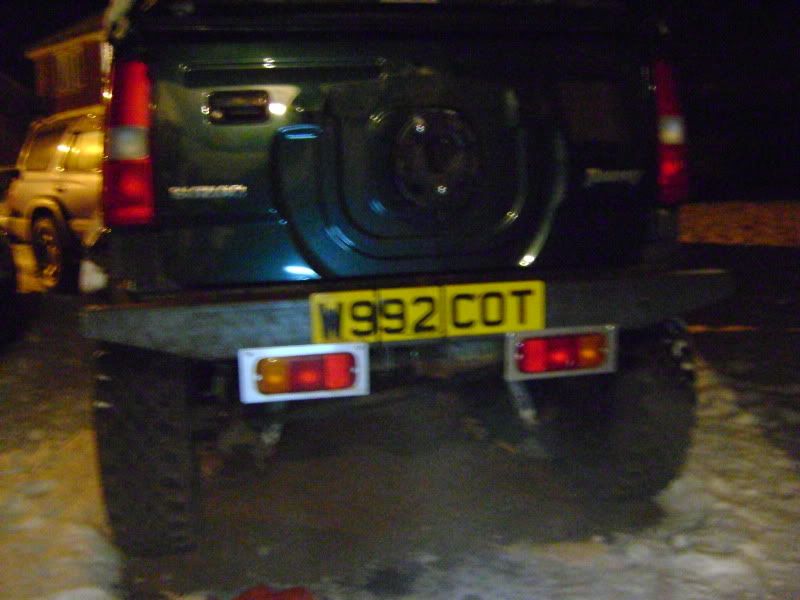
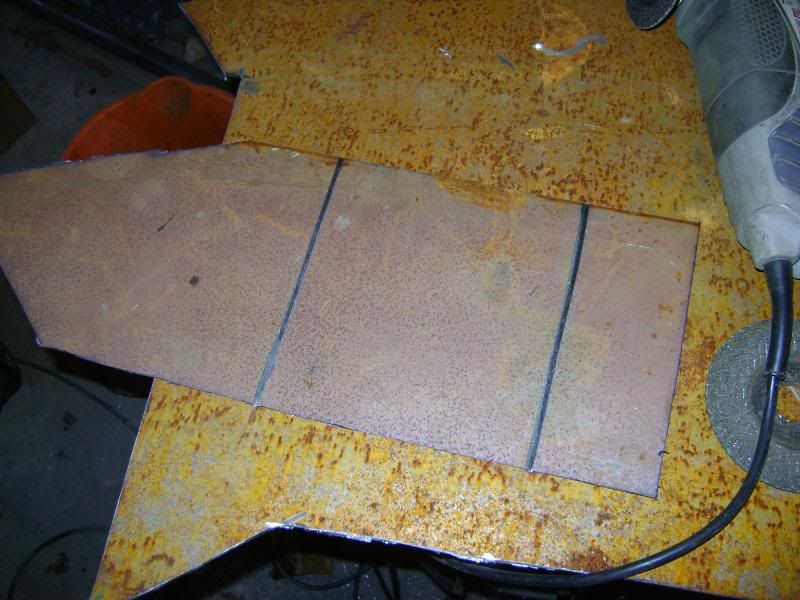
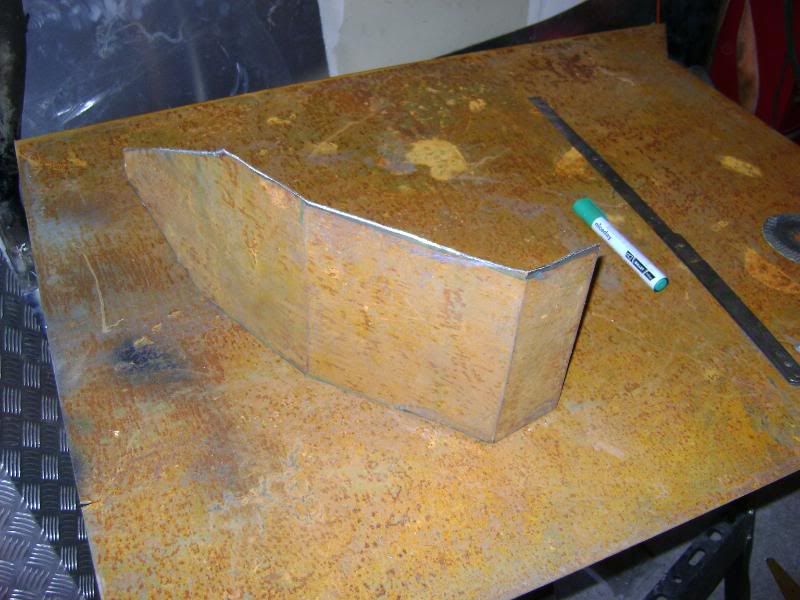
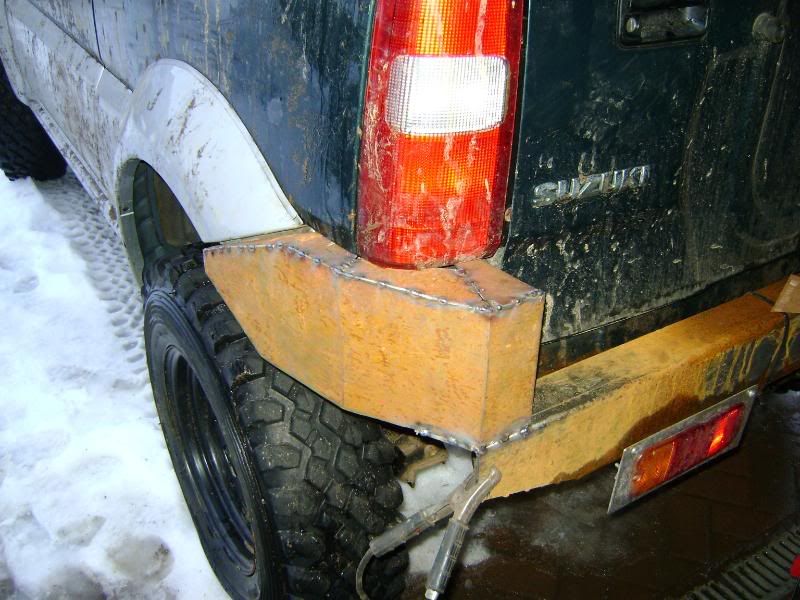
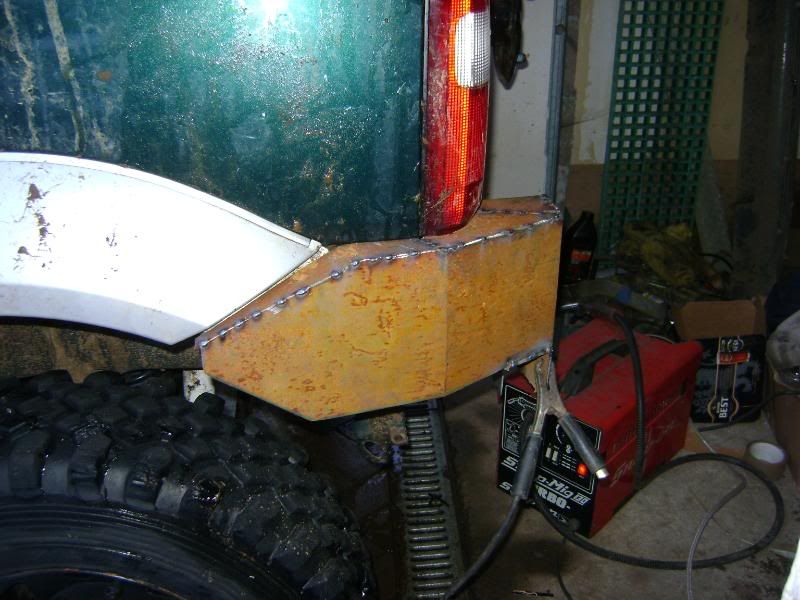
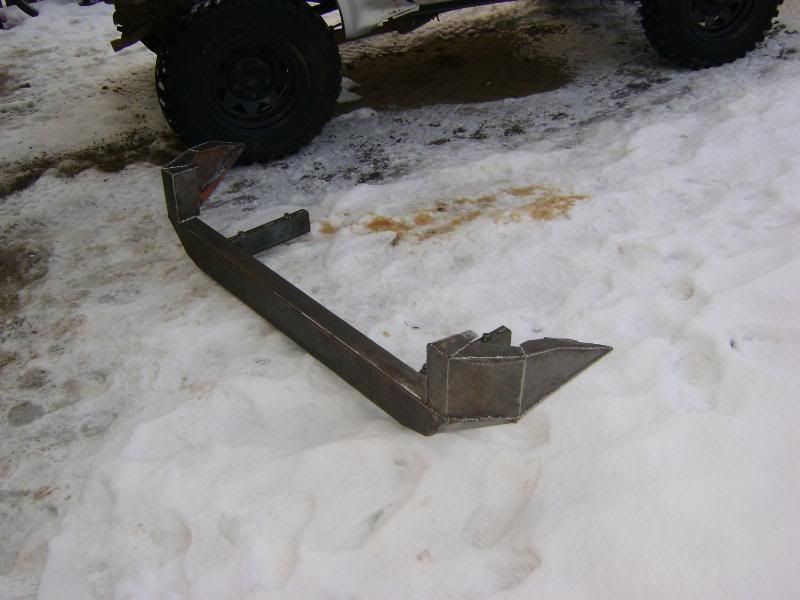
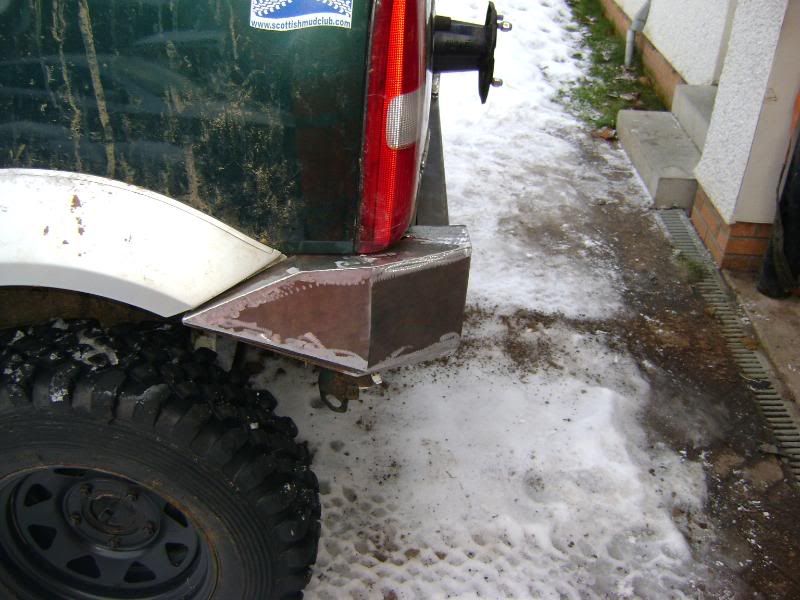
Anyway hope to take delivery of winch bumper this week and make a start on fabing a rear bumper. Will update as I go.
Rod for you mate, clearly a man with taste. {some of the last build in this thread} http://www.scottishmudclub.com/2009/.../#post15571081
Original Thread is here but runs to almost 80 posts
http://www.hiluxsurf.co.uk/forums/sh...ad.php?t=58380
So here she is. Almost a shame to off road it. { almost
}2000 on a W plate good history 58k mile.
Some good bling removed and sold on eblag, can you belive the chrome grille set went for near �50
All told I have got �250 from parts I wont use so far. { anyone need a rear bumper?? } {now sold, another �80 into the fund}This is the kit going on the jimny. +3" springs with es1000s to match. Went for the oil filled due to the finish weight of the toy truck.
Also picked these up and have made a start on doing them in matt black.
Bronco Dimond Backs.
Quick introduction to the wire brush, and mash hammer to reshape the rims
Starting to get some clearance now. New longer braided brake lines on order.
Anyway hope to take delivery of winch bumper this week and make a start on fabing a rear bumper. Will update as I go.
Rod for you mate, clearly a man with taste. {some of the last build in this thread} http://www.scottishmudclub.com/2009/.../#post15571081


 .
.


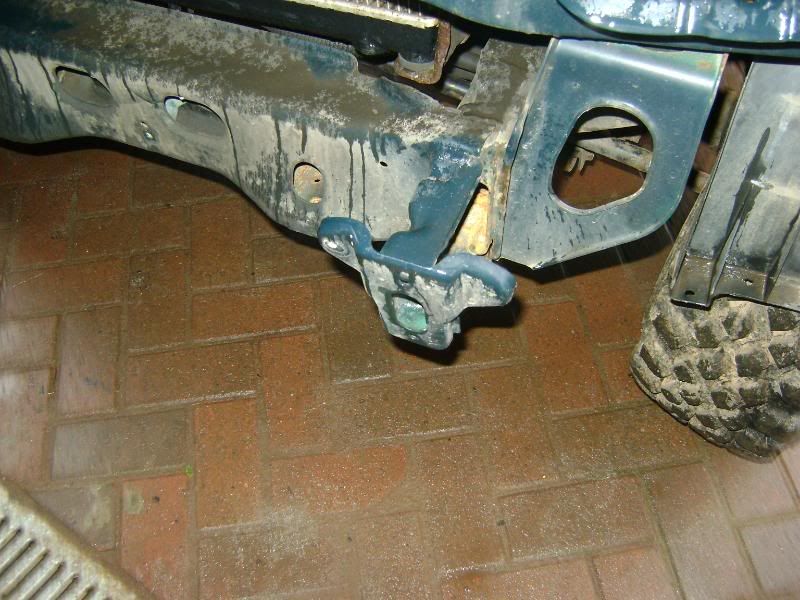
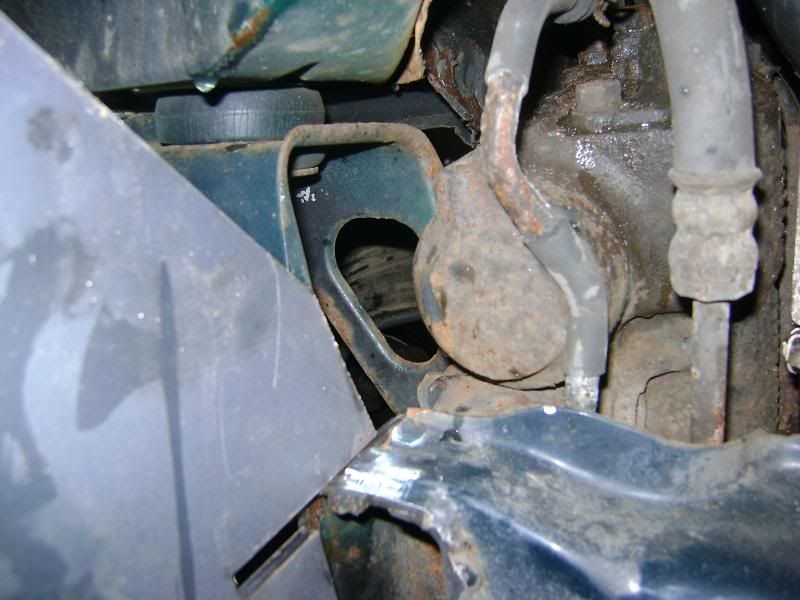
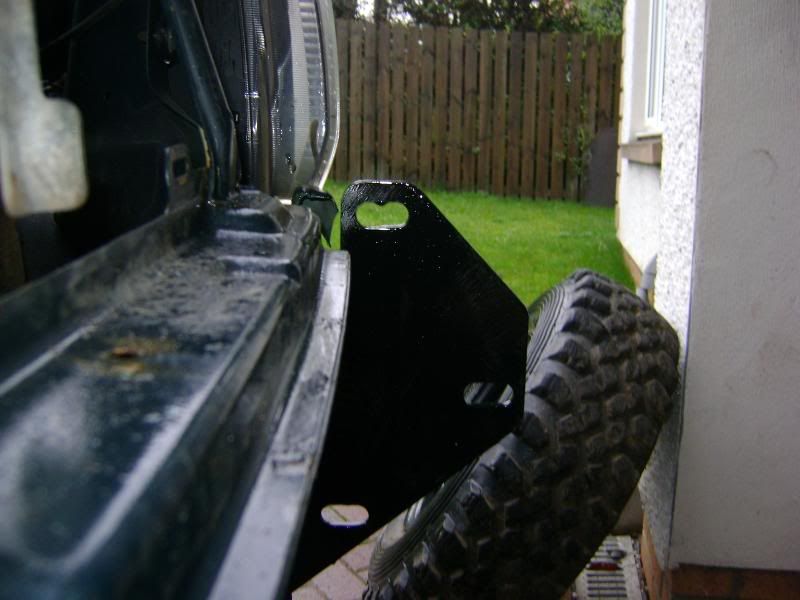
 (firewall to slam panel and between the inner wheel arches)
Comment